

Here’s a step-by-step guide on how to add presets to the mobile version of Adobe Lightroom.
First, make sure you have downloaded the presets you purchased. You can check how to download them here.
To add presets to the mobile version of Lightroom, follow these steps:
- Import the downloaded presets (DNG files) into Lightroom
- Create and save presets in Lightroom from the imported DNG files
- Use and apply the saved presets
Let’s go through each step in detail.
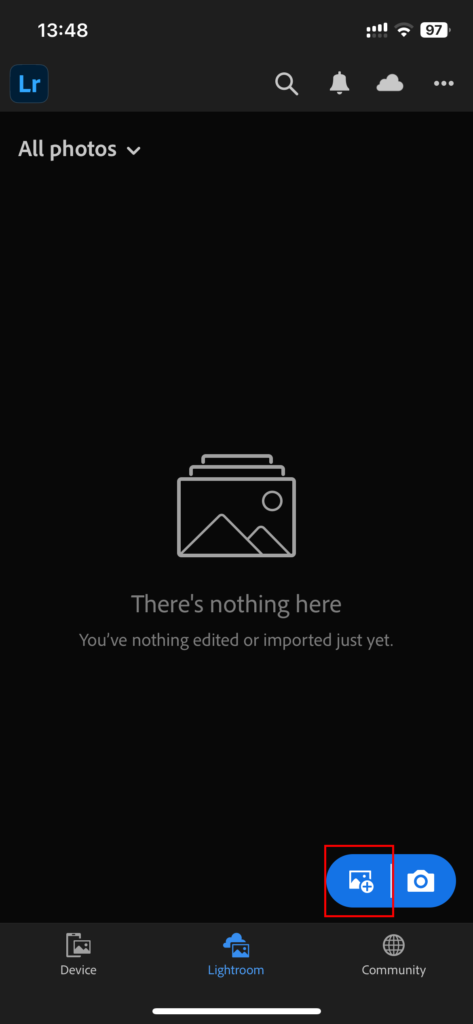
【Step 1】
Open Lightroom and tap the icon at the bottom right.
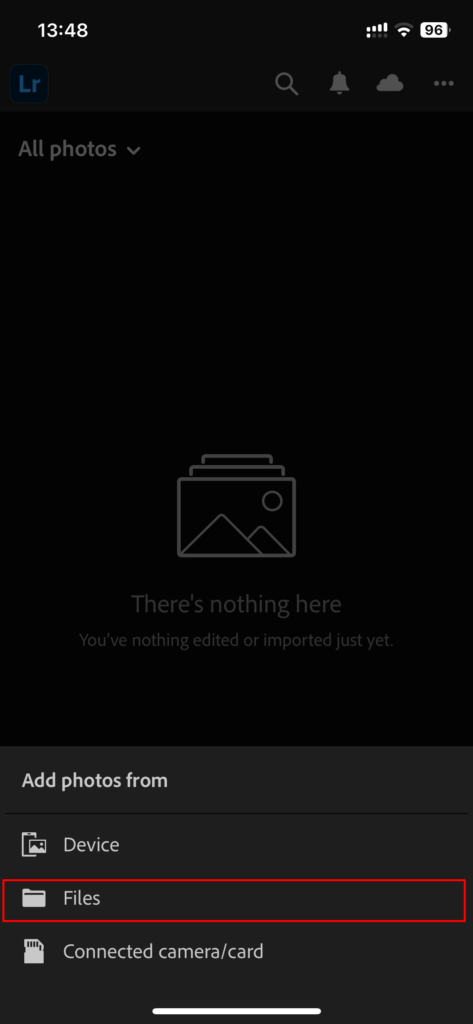
【Step 2】
Tap “Files.
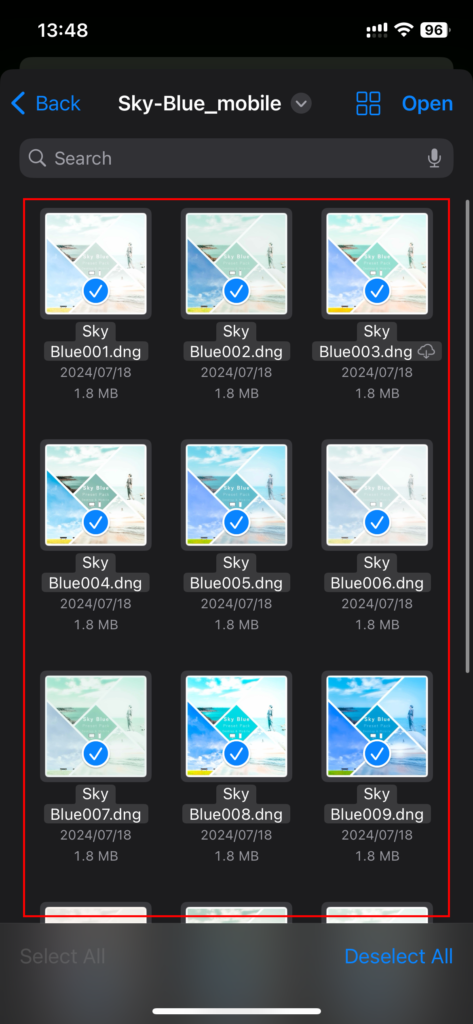
【Step 3】
Locate the downloaded presets and select all the DNG files to import them.
【Step 4】
Choose one DNG file that you want to save as a preset and tap it.

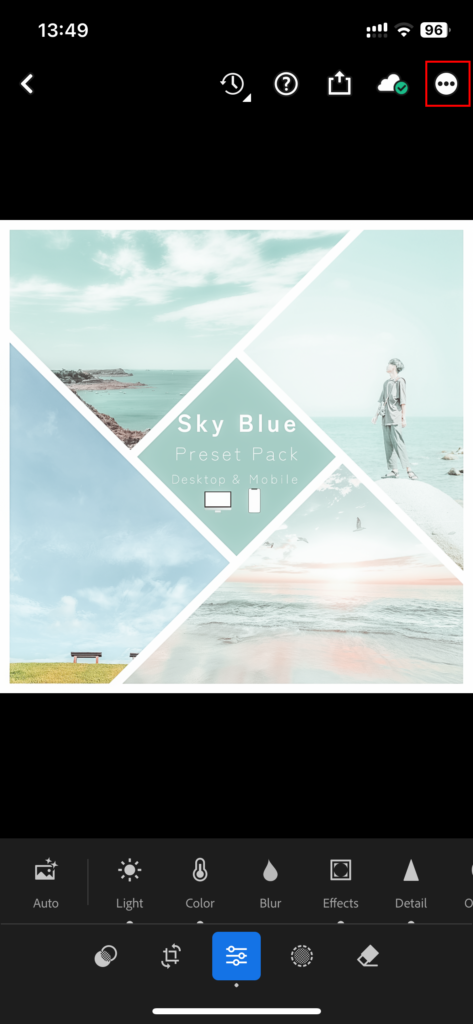
【Step 5】
Tap the “…” icon at the top right.
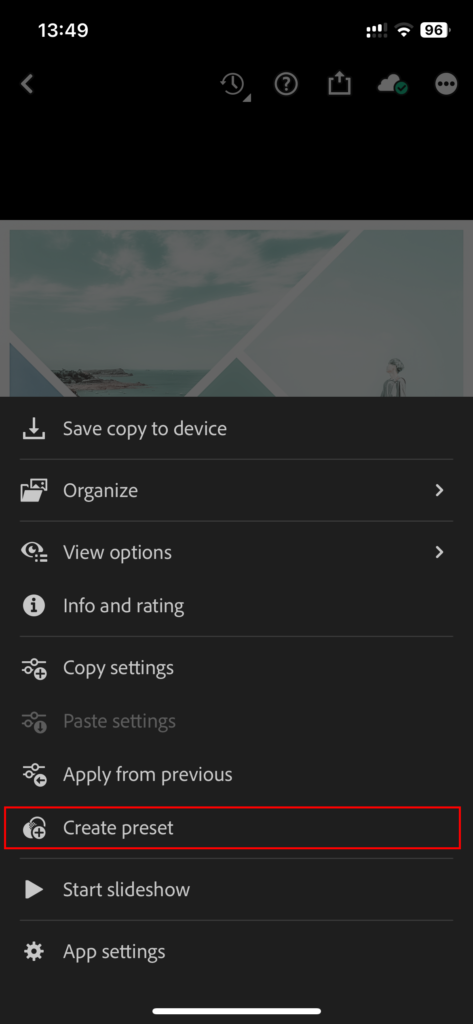
【Step 6】
Tap “Create Preset” from the bottom menu.
【Step 7】
Enter a name for your preset at the top under “Preset Name.”
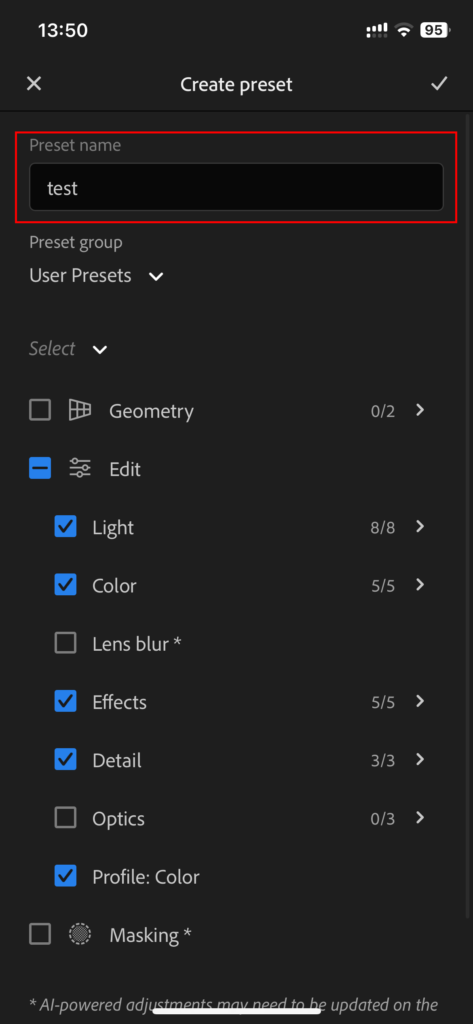
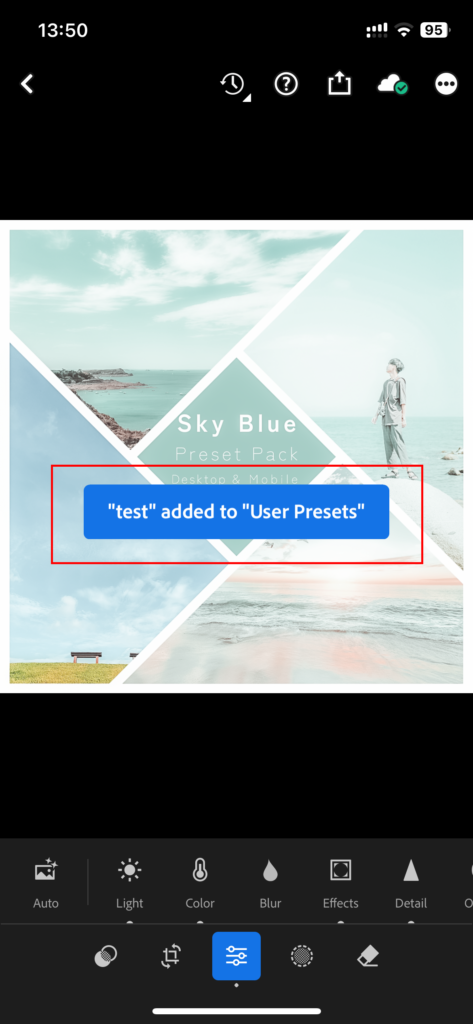
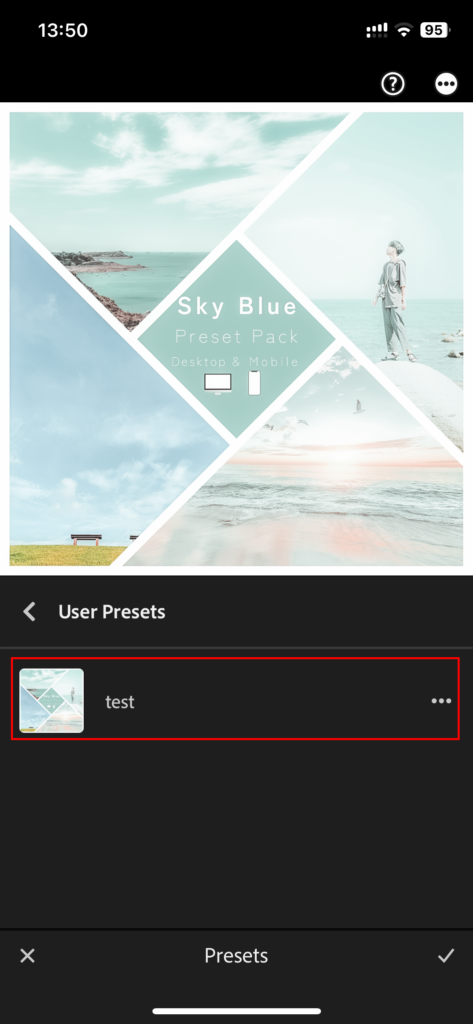
【Step 8】
Confirm that the preset is saved under “User Presets.”
For the first preset, complete steps 1 through 8. For additional presets, repeat steps 4 through 8.
If you want to save 15 presets, repeat the above steps 15 times.
How to Apply Saved Presets:
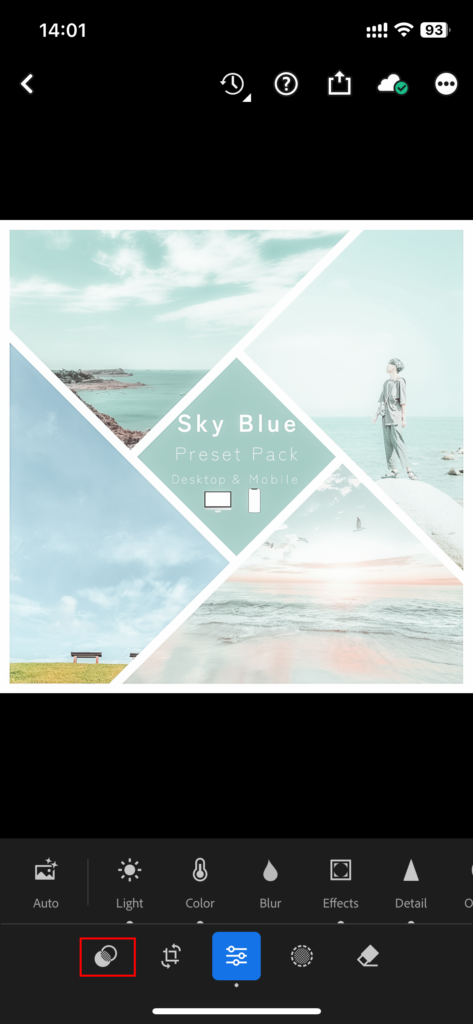
【Step 9】
Open the image you want to edit and tap the icon at the bottom left.
【Step 10】
Tap “Yours”, then “User Presets”

【Step 11】
You will see “User Presets”; select and apply the one you want.
Once you save a preset, you can apply it anytime using steps 9 through 11.
That’s how you add and apply presets in the mobile version of Lightroom.

Comment