

Here’s a guide on how to add presets to the desktop version of Adobe Lightroom.
First, make sure you have downloaded the purchased presets. You can check the download method here.
Adding presets to the PC version of Lightroom involves three main steps:
- Expand the Presets section in the editing panel
- Select “Import Presets” from the “+” menu next to ▼Presets
- Choose the downloaded presets
Let’s go through each step in detail.
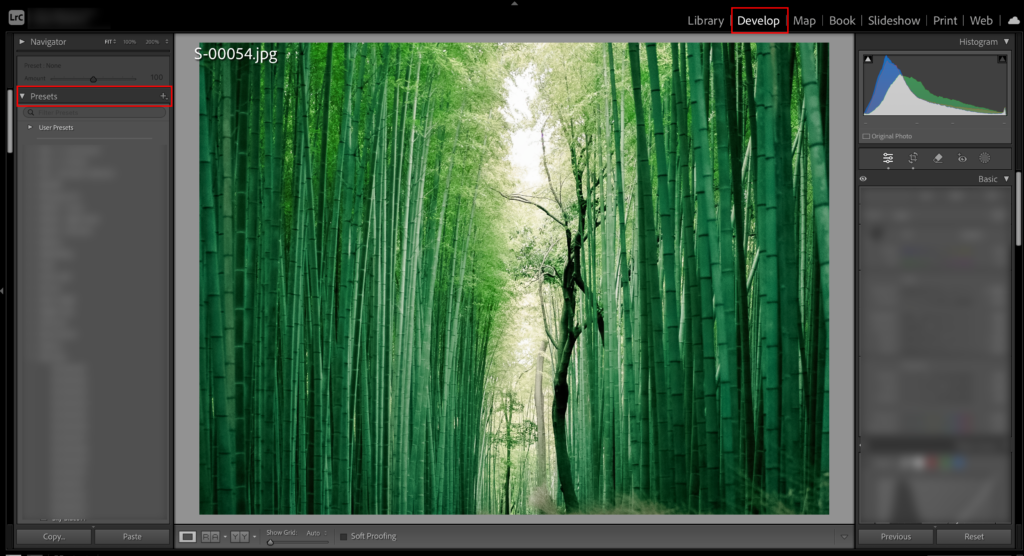
【Step 1】 Expand the Presets Section in the Editing Panel
Select a photo from your library and open the “Develop” screen. On the left side of the Develop screen, you’ll see the editing panel. Expand the ” ▼Presets” section from the panel.
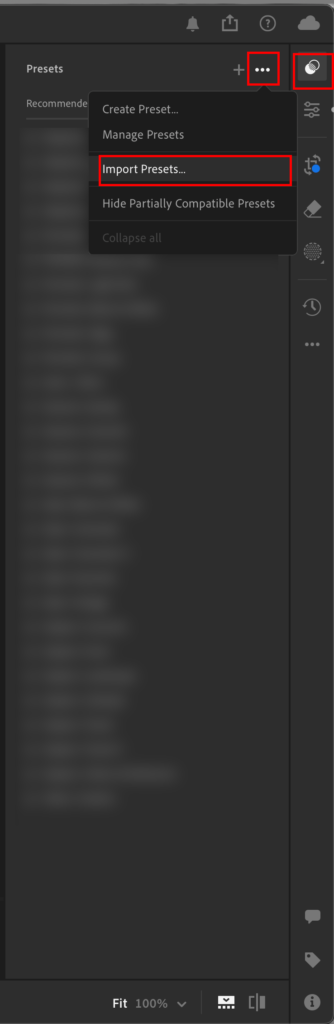
【Step 2】Select “Import Presets” from the “+” Menu
Next to the ” ▼Presets” section, you’ll see a “+” icon. Click on it and select “Import Presets.” A dialog box will appear for you to select the files.
【Lightroom Classic】
【Lightroom】
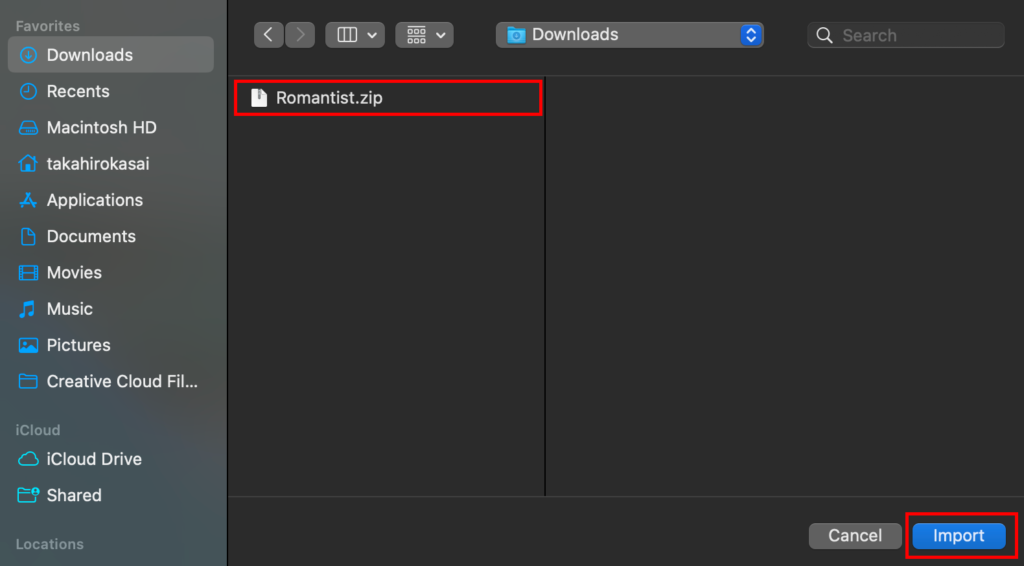
【Step 3】 Choose the Downloaded Presets
Select the preset files you have downloaded earlier. Once you do this, the presets will be imported into Lightroom.
Note: The display may vary depending on whether you are using Lightroom Classic, Lightroom, or your operating system.

Comment